2 fat quarters of material 18" x 22"
thread
sewing machine (I used both my serger and my Bernina)
2 yards of cording
Method:
Each side of the bag will be constructed, then attached to each other, and cording added.
1. Bag Construction (you will make two of these)
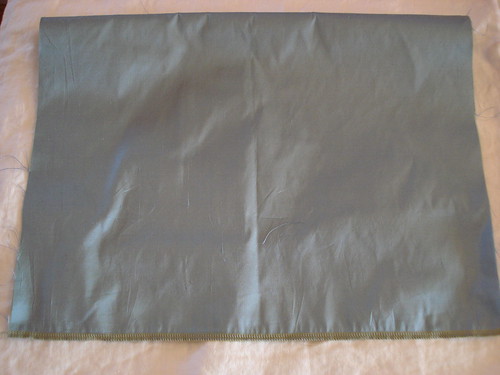
Using one of the fabric fat quarters with right sides facing fold the fabric in half so that it is 18" x 11" sew up the side with 18".
Figure 1.
Now fold the fabric in half again, to find the midpoint where the first seam is now in the middle.
Figure 2.
Sew the bottom end
Figure 3.
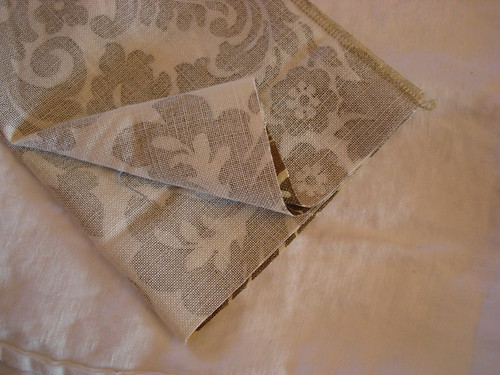
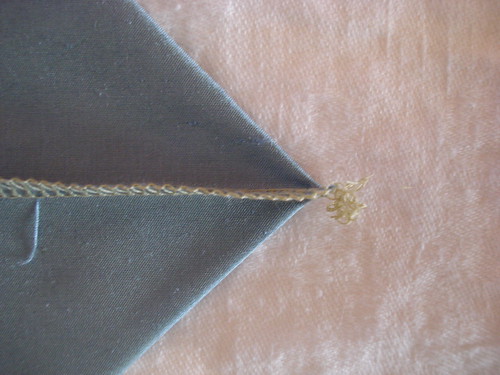
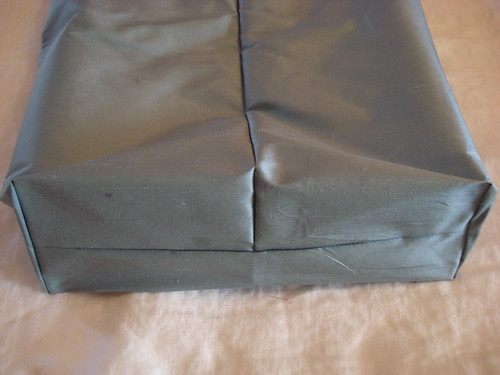
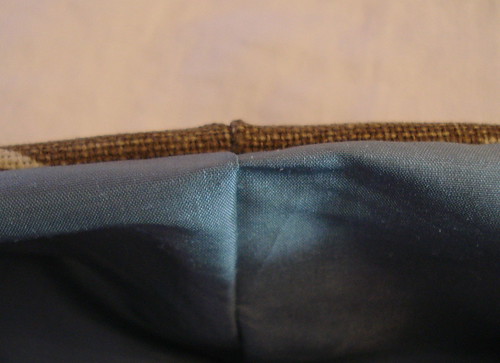
Now, manipulate the bottom seam so it forms a triangle. Make sure it's perfectly pointed or the bottom of the bag won't sit straight.
Figure 4.

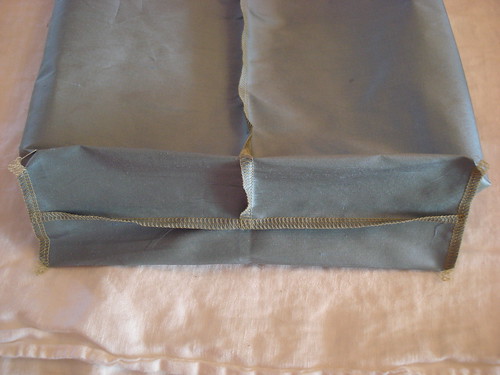
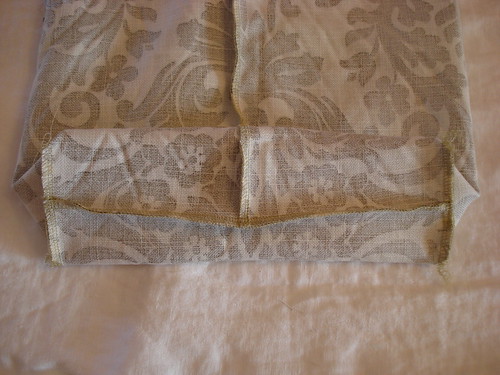
Detail:
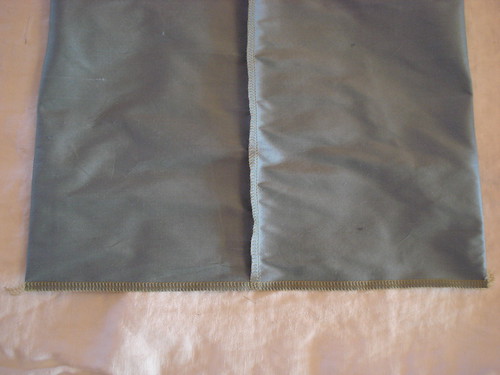
Sew a seam here and repeat on the other side.
Figure 5.
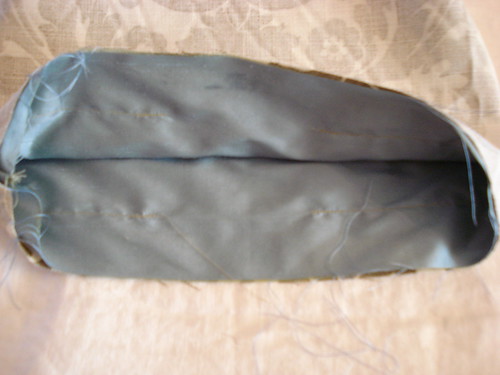
Now you have one side of Reversible Fabulosity. Repeat these steps with the second piece of fabric.
2. Attaching the bags
Turn one bag so the right side is on the outside.
Figure 6.
Leave the other bag inside out, with all the seams showing on the outside.
Figure 7.
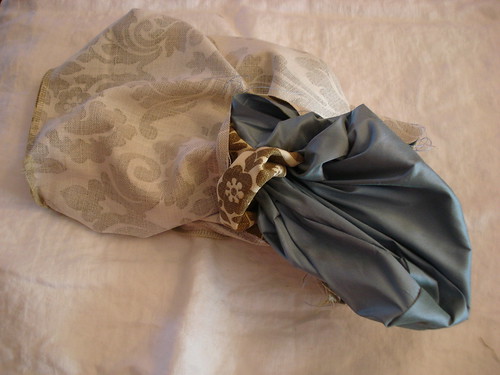
Put the right side out bag inside the bag with all the seams showing. Now right sides should be facing each other.
Figure 8.
Also make sure the seam on the back of the bag (the first seam sewn) is on the same side for both fabrics.
Figure 9.
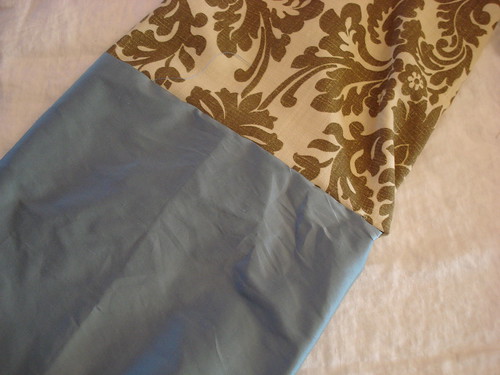
Find the midpoint of each side of the bag. That is, looking at the bag from the top, with the middle seam at 90 degrees, determine the location of zero and 180 degrees. Or looking at the bag from the front, flatten the bag and locate the sides (where the top turns and becomes the bottom). THEN place a pin a distance of 2-3 inches at the halfway point on both sides.
Sew on the INSIDE of the bag 1 1/2 inches from the edge from pin to pin, EXCEPT do not sew between the marked 2-3 inches on both sides. This empty place is for the drawstring and for turning the bag right side out. It's important to sew from the inside, it will give you a better finished seam.
Figure 10.
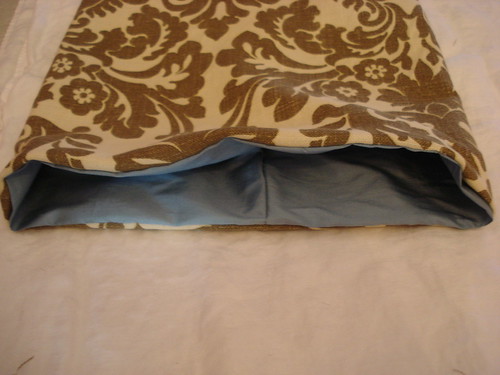
Turn the bag right side out from the opening. Be careful and go slow. Don't want to rip anything now!
Figure 11.
Now Press! It's important to press here, so that your casing for the drawstring is sewn properly.
Sew on the INSIDE of the bag all the way around using a 1 inch seam allowance. This is your completely lined casing for the drawstring.
Figure 12.
Feed the drawstring into the casing and knot it when it reaches the beginning. Repeat on the other side.
Figure 13. Side A.
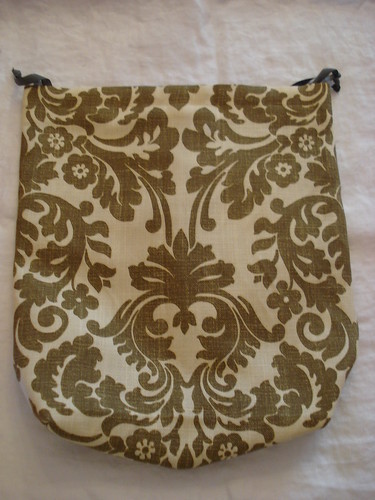
Figure 14. Side B.


No comments:
Post a Comment